Home Blog Page 6

The Big Picture: How To Get Optimal Sound Clarity & Balance In A Live Setting

0

A live sound situation can be stressful. With an audience present, you want to make sure that they get the most out of the live experience. Achieving the optimal sound clarity and balance is essential for them to enjoy any performance on stage.

Techniques for getting optimal sound clarity and balance at a live event

So what should you as a sound operator be paying attention to in order to achieve the best sound quality in a live event situation? Here’s a top down look at what is required.

Proper microphone placement

Techniques for Getting Optimal Sound Clarity and Balance at a Live Event

As the saying goes: garbage in, garbage out. And how sound first enters the sound system is through the microphone. That’s why correctly placed or handled microphones is a good starting point for a good and clear live sound. Proper microphone placement is essential to capture the sound of the performers. This also means understanding the different types of microphone polar patterns and characteristics, and selecting the correct ones to match different types of instruments and voices.

Soundchecking

Testing 1, 2, 3. Sound checks are an essential part of the entire process to getting sound up and running. During a sound check, it is and opportunity to adjust the levels of all the microphones and inputs, and to set any equalization that is needed on the different instruments and vocals in the mix. It also helps to uncover any problems and issues that may arise during the actual performance itself. By catching it early, you as the sound operator can then troubleshoot and address the issues before the crowds pile in. You can then ensure that all the elements in the mix are balanced and that the overall sound is clear and pleasing.

Equalization

Equalization or EQ is the process of adjusting the balance of the different frequencies in the sound. This can be done on individual level for each vocal or instrument, as well as on the overall level of the entire mix. Properly setting the EQ can help to enhance the character of a particular channel, for example elevating the vocals or the bass. It can also help to reduce unwanted noise or feedback by suppressing certain “problem” frequencies.

Compression

Compression is the process of controlling the dynamic range, i.e. the difference between the loudest and softest parts, of a sound. Using compression helps a sound operator to keep the sound from becoming overly loud or too quiet. This has the effect of making the overall sound more consistent. This makes it easier for the sound operator to make sure that the elements of a mix “stay” where they have set in terms of loudness, but also makes it easier for the audience to listen to the mix.

Correct gain staging

Gain staging involves setting the levels of the sound as it passes through different stages and component in a sound system. Proper gain staging helps to ensure that a clean sound is passed from one part of the sound system, for example from the microphone preamps in the mixer to the channel, and that the sound is not distorted. The overall effect is that the sound is sent through the sound system in a clear and balanced manner.

Room acoustic treatment

Room acoustics can play a huge role in live sound. Each room has its own special characteristics. Some rooms may naturally accentuate bass frequencies. Others may be too reflective and have a lot of reverb. Using treatments like using bass traps, diffusers and sound absorbers can help to minimize any room anomalies. Proper positioning of speakers for the audience can also help to make sure that the sound is delivered in the best manner to the listeners’ ears.

These examples provide a big picture overview of the different techniques and knowledge that a live sound engineer or operator can use in order to achieve optimal sound clarity and balance in a live event setting.

Books For Beginner Sound Engineers To Take Their Skills To The Next Level

0

The world of sound engineering and mixing can be a confusing one. It is essential to have a firm understanding of sound and audio concepts to know what to do. One way to acquire this knowledge is by read up on some books on sound engineering and audio. The right tome will bring you through the concepts and knowledge that you need to know.

Here are some books that cover the topic of sound engineering and offer valuable insights and practical advice. Even if you’re a beginner, these books will help you take your skills to the next level.

Sound Engineering Books for Beginners and Those New To Audio, Mixing and Live Sound

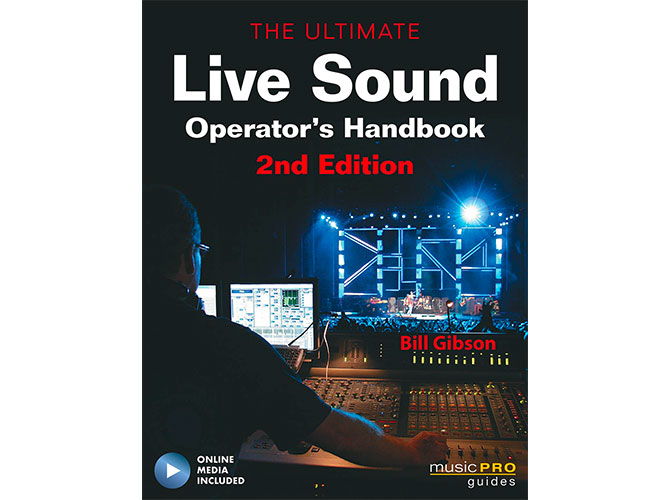
The Ultimate Live Sound Operator’s Handbook

The Ultimate Live Sound Operator's Handbook

The Ultimate Live Sound Operator’s Handbook lives up to its name. It covers both the theory and practical aspects of what a sound operator does. This includes equipment like mixers, microphones, monitor systems and outboard equipment that goes into the rack. It is very comprehensive but the information is not presented in an overly technical manner. This also means that you will have plenty to wade through as you read the book.

Shop for The Ultimate Live Sound Operator’s Handbook.

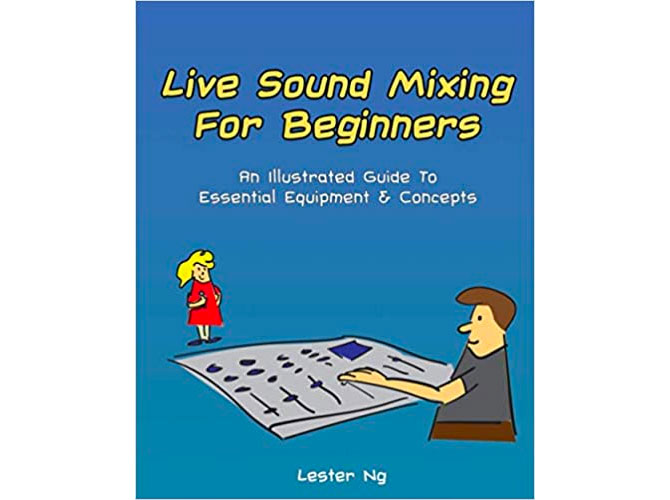
Live Sound Mixing for Beginners

Live Sound Mixing for Beginners

This book is great for those who only want the essentials to get started into the world of sound. It strips back all the concepts to focus on what a new sound operator needs to know in order to get started ion the mixer. The information is presented in a simple and logical manner, and illustrated with cute and disarming pictures that help to bring home the key ideas.

Shop here for Live Sound Mixing for Beginners.

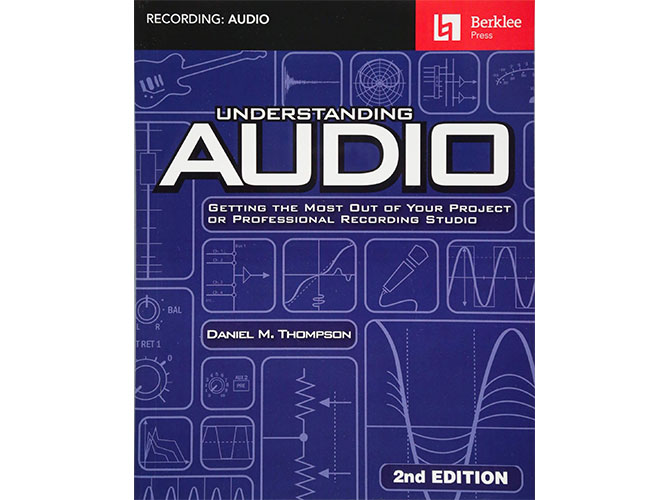
Understanding Audio: Getting the Most Out of Your Project or Professional Recording Studio

Understanding Audio: Getting the Most Out of Your Project or Professional Recording Studio

Leaning more to the technical side, Understanding Audio focuses on the fundamentals of sound and acoustics. It can serve as a reference guide to educating yourself on the principles of sound and how to setup your equipment properly. This book is published by Berklee Press.

Shop here for Understanding Audio.

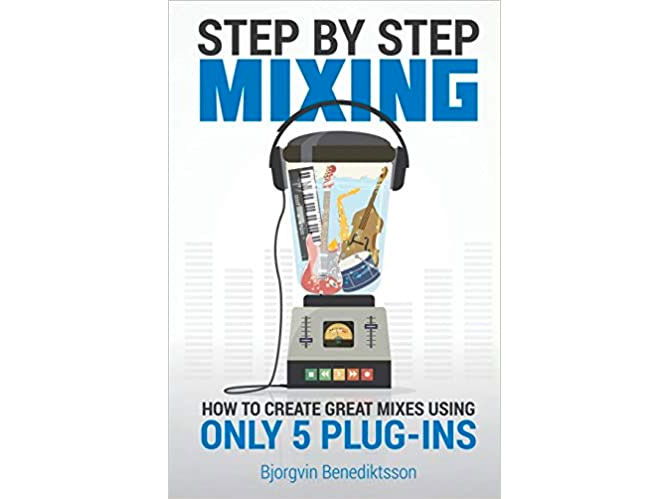
Step By Step Mixing: How to Create Great Mixes Using Only 5 Plug-ins

Step By Step Mixing: How to Create Great Mixes Using Only 5 Plug-ins

Written for those who many be struggling with getting a good mix in the home studio, Step by Step Mixing dives into how to optimise your recording through the use of EQ, compression, reverb, delay and saturation. It provides practical tips as well as an explanation of the theory behind each piece of gear.

Shop for Step By Step Mixing: How to Create Great Mixes Using Only 5 Plug-ins.

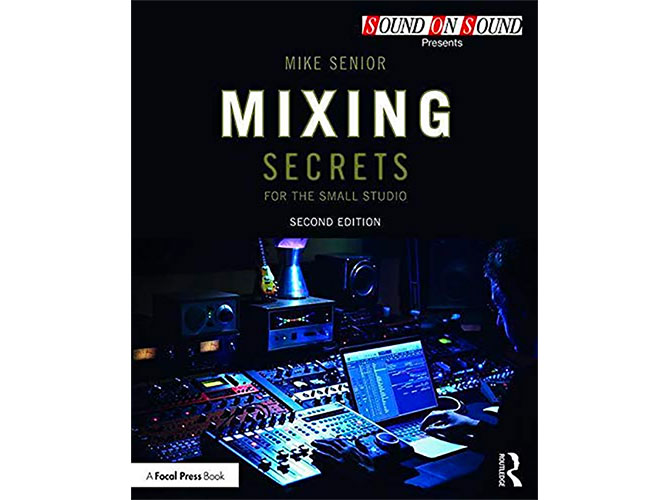
Mixing Secrets for the Small Studio

Mixing Secrets for the Small Studio

If you are a home studio enthusiast, Mixing Secrets for the Small Studio will help to provide guidance on the mixing process, from monitoring to preparing to mix. It also cover the tools that sound engineers use in the mix process and even midi.

Shop for Mixing Secrets for the Small Studio.

Digital Vs Analog Audio Mixer: What Are The Differences & How To Decide What To Buy

0

When it comes to audio mixing, one of the biggest decisions you’ll have to make is whether to go with a digital or analog mixer. Both types of mixers have their own unique set of benefits and drawbacks, and the right choice for you will depend on your specific needs and preferences.


Digital versus Analog Audio Mixer: What are the Differences

Digital versus Analog Audio Mixer: What are the Differences

1. How Sound is Processed

One of the main differences between digital and analog audio mixers is the way they process sound. Digital mixers use digital algorithms to manipulate and mix audio signals, while analogue mixers use analog circuits and components to process audio.

2. Flexibility and Control

One of the main benefits of digital mixers is the level of flexibility and control they offer. Digital mixers tend to have a wide range of features and offer precise control over the mixing process, including the ability to store and recall mixer settings, and to use digital effects and processing. This makes digital mixers a good choice for more complex mixing tasks, such as recording and producing music.

This flexibility also make digital mixers a preferred choice when it comes to live performances where there can be many different bands or settings that change from song to song.

3. Recording Interfaces

Having a digital mixer can also be handy if you need to do on-the-go recording. They also often have built-in interfaces for connecting to computers and other digital devices, which makes it easy to integrate them into a digital recording setup. Having said that, there are also analog mixers that have built-in interfaces that be connected to a computer.

Analog mixers, on the other hand, tend to be more limited in terms of features and flexibility. They are generally simpler to use and have fewer controls, which can be a plus for people who prefer a more straightforward approach to mixing. Analogue mixers are also known for their warm, “analogue” sound, which some people prefer to the more clinical sound of digital mixers.


Deciding between a Digital and Analog Mixer

One of the key considerations when choosing between a digital and analog mixer is your budget. Digital mixers tend to be more affordable, especially at the lower end of the price range, while analogue mixers can be quite expensive, especially for high-end models.

Another important factor to consider is the type of work you’ll be doing with the mixer. If you’re planning on recording and producing music, a digital mixer is likely the better choice due to its greater flexibility and control. If you’re using the mixer for live performances, a digital mixer may also be a good choice due to its portability.

On the other hand, if you prefer a simpler, more straightforward approach to mixing, or if you’re looking for a warm, “analog” sound, an analog mixer may be the better choice.

Ultimately, the decision between a digital and analog audio mixer comes down to your specific needs and preferences.

Both types of mixers have their own set of benefits and drawbacks, and the right choice for you will depend on your budget, the type of work you’ll be doing with the mixer, and your personal preferences.

What’s the Difference between Active & Passive Speakers? 3 Essential Things to Know When Buying One

0

Perhaps you are in the market for a set of loudspeakers. Or you have been tasked to setup a sound system for a venue. You’ve heard about choosing between either active or passive speakers. But really, what’s the difference between active and passive speakers and which type of speakers should you be getting?

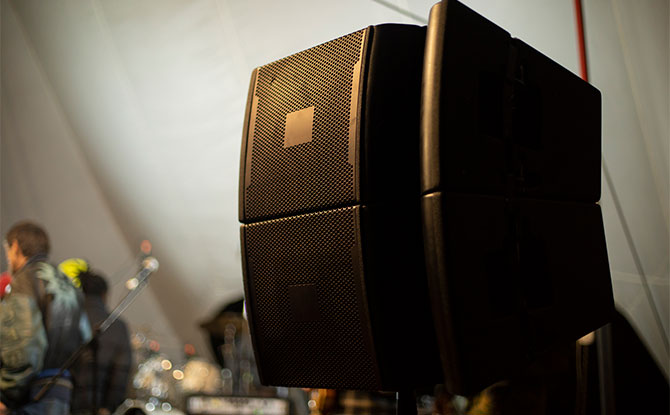
Loudspeakers or speakers are the part of the sound system that projects sound out towards the audience. A familiar sight is probably the set of boxes (known as speaker enclosures) hung up in a venue and aimed out at the crowd.

These loudspeakers need to be powered by an amplifier. It is the amplifier that moves the cones in the speaker boxes to create sound waves that we can hear.

The Difference between Active and Passive Speakers

Here is the main difference between active and passive speakers – an active speaker has a the power amplifier built into the enclosure. On the other hand, a passive speaker makes use of a separate power amplifier unit. This can be situated away from the speaker.

3 Essential Things to Know When Choosing Between Active & Passive Speakers

Difference between Active and Passive Speakers - Essential thing to Know before Buying One

1. Active Speakers Require Power, Passive Speakers Do Not

Since active speakers have the power amplifier built into them, they require an electrical power source. Wherever you deploy an active speaker, you will not only need to supply it with the speaker cable with the audio signal but also with an electrical power cable.

If you are installing the active speaker at a venue, for example mounting it on a wall at a hall, you will also need to make sure that there is a power supply available for the active speaker.

On the other hand, passive speakers only need to have a speaker cable carrying the audio signal from the power amplifier to the speaker. The power amplifier can be sited away from the speaker, for example, at the location of the mixing console.

2. Active Speakers may include a mixer and EQ

In addition to having a power amplifier built in, many active speakers would also a small mixer section that allow you to directly plug in equipment such as a microphone or a music player. It could even have simple EQ controls to allow you to adjust the amount of bass or treble coming through the speaker.

This makes an active speaker attractive all-in-one solution if you are looking for a PA system that is portable and easy to use. You would just need to supply electrical power to the active speaker and then you can plug in a microphone and start to use it.

3. Cost & Maintenance

As Active Speakers are essentially two pieces of equipment (speaker and amplifier) in one package, they cost more than Passive Speakers. To do an apple-for-apple comparison of the cost of an active speaker with a set of passive speakers, you would need to consider the cost of the separate power amplifier as well.

Another consideration when deciding between an Active Speaker and a Passive Speaker is the ease of maintenance. With a sound system using Active Speakers, if the speaker fails, you could need to send in the entire unit (effectively both the speaker and amplifier) for repair. On the other hand, with a sound system that uses Passive Speakers, if either the speaker or the amplifier fails, only the component that is faulty needs to be sent for repair.

Deciding on Active vs Passive Speakers

Whether you choose to get active or passive speakers will depend on your circumstances and what you intend to use them for.

Many venue installations make use of passive speakers for ease of maintenance and customizability. For example, the wattage of the power amplifier can be selected based on the needs of the venue.

On the other hand, if you are looking for a portable and easy to use speaker system, an active speaker may sufficient for your needs. However, you will need to bear in mind that electrical power is required for the active speaker.

What Does An Audio Mixer Do? 5 Reasons To Get One

0

Maybe someone told you that you need an audio mixer, but before you go out to get one, you may be wondering, do I really need it? What exactly is the benefit of an audio mixer, anyway?

Most people would recognise what an audio mixer looks like. But is it really necessary to get such a complicated piece of equipment with all the knobs and buttons? After all, perhaps all you want is to keep things as simple as possible.

Here are five things that an audio mixer does to make your life simpler.

What Does an Audio Mixer Do?

1. Adjust the Volume of the Sound

What Does an Audio Mixer Do?

At the risk of stating the obvious, an audio mixer allows you to control the volume of the equipment plugged into the mixer. For example, if you have a microphone plugged into the mixer, you can use the mixer to control how loud or soft the sound output of the microphone will be over the loudspeakers.

2. Blend the Volume of Multiple Sound Sources

However, an audio mixer is more than just a volume control. Audio mixers can accept multiple sound sources simultaneously. Small mixers may have as few as two channels that can be used to receive two sound sources. On the other hand, large format mixers may be able to simultaneously handle 32 or 64 incoming sound sources.

Each of these sound sources are on individual channels and have individual faders to control the volume separate. This allows their volumes to be adjusted relative to each other. For example, if there is a singer with a microphone on channel 1 and a music backing track on channel 2, the mixer will allow you to adjust how loud the singer is in relation to the music backing track.

3. Get the Best Signal to Noise Ratio

Don’t be intimidated by the term “signal to noise ratio”. In layman’s terms, a good signal to noise ratio simply means that a sound can be clearly heard.

Noise, in this context, refers to the random sound that a piece of equipment makes when it is in operation. Any sound system, when it turn on, will inherently generate some noise. If the desired sound (e.g. from a microphone) is set too low, the noise may end up being audible and distract the listener. A mixer has a control known as an input gain or trim that allows you to increase the volume of the desired signal above the noise so that it can be clearly heard.

4. Adjust the Quality of the Sound

A mixer normally has some sound or signal processors built into it. These can be used to adjust or manipulate the quality of the incoming sound. A common signal processor found in audio mixers is an equalizer. This allows you to adjust whether a sound has more bass or treble. Different types of equalizers allow for varying levels of control over the quality of the sound.

Other signal processors that can be found in mixers include reverb and compression.

5. Send the Sound to Different Outputs

A mixer is typically used to send the sound out to one “destination”. This could be an amplifier and a set of loudspeakers, or to a computer for recording. This destination is usually connected to the mixer’s main stereo outputs.

However, you may also need to send the audio signal to other locations. For example, if the main outputs are being sent to a set of loudspeakers, you may also wish to simultaneously send the audio signal to an audio recorder to record what is going on.

A mixer has the ability to send the signal to multiple outputs at the same time. This creates a lot of flexibility when working with audio signals.

How To Use An Audio Mixer: Essential Guide To Get Started

0

An audio mixer is the brains of a sound system. It is where you can control all the incoming sounds from equipment like microphones and then channel them out to the loudspeakers in order to be heard by the audience. Therefore, if you are responsible for managing sound at an event, the likelihood is that you will need to know how to use an audio mixer.

There are many different types of audio mixers but they all do the same thing. Their job is to act as a control panel for the sound operator to manage the sound.

Some mixers can look as simple as the volume controls that you find on a car stereo, or they can super complex with rows and rows of knobs and faders.

In this essential guide on how to get started on an audio mixer, we are going to assume that you are new to using one and are stepping into a situation where you have to take over and manage one that has already been set up in a venue.

Overview of the Sound System

A mixer is just one part of an entire sound system. The system starts with input equipment like microphones or music players like MP3 players. These are the source of the sound.

The sound sources then get sent to the mixer where they can be adjusted or “mixed” together.

From the mixer, the sound signals then get passed on to an amplifier that boosts the signal before it is played out through the loudspeakers.

All these parts are connected by a wires known as cables.

How to Use An Audio Mixer: Switching on the Sound System

How to Use An Audio Mixer: Switching on the Sound System

If you are making use of a venue where the sound system has already been setup (i.e. the mixer and the loudspeakers are already connected), all you have to do is to switch it on. However, there is a proper sequence for turning on the sound system and mixer to avoid damaging it.

When switching on the sound system, this is the power on sequence:

  1. Power on the mixer
  2. Power on the amplifier

When powering off the sound system, this is the power off sequence:

  1. Power off the amplifier
  2. Power off the mixer

Identify the Type of Mixer You Are Working With

There are generally two types of audio mixers – analog mixers and digital mixers.

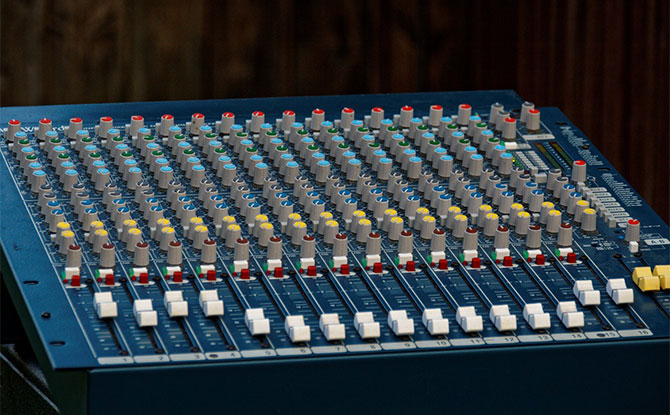
It is quite easy to tell if you have a digital mixer on your hands – there will be large LED screen in the center of the mixer. On the other hand, analog mixers have columns of similar knobs across the main body of the mixer.

For the purpose of this essential guide to using audio mixers, we will assume that you are using an analog mixer.

Connecting Equipment to the Mixer

You will need to connect input equipment like microphones that you’d like to use to the mixer.

Microphones are connected to the mixer using cables known as XLR cables. These have a male and female end. The female end connects to the microphone and the male end connects to the mixer.

The audio mixer has multiple channels. These channels are vertical columns with a row of knobs running from the top to the bottom. These columns are known as channel strips. At the bottom of the channel strip, you will find a fader or a knob.

The part of the mixer which accepts the XLR cable can normally be found either at the top of the channel strip or at the back of the mixer, inline with the channel strip. To insert the cable, align the three pins of the XLR cable with the three holes on the mixer and plug it in.

Setting the Input Gain

Once you have connected the equipment to the mixer. You will need to control how much of the signal is allowed into the mixer. This is the purpose of the gain or trim knob. This can usually be found at the top of the channel strip, just below the input jacks.

To set the input gain, you will need to be able to monitor the amount of signal coming in to the mixer. This can be monitored using the VU (volume unit) meters of the mixer. These are the set of lights usually found on the right side of the mixer.

To activate the VU meters for a channel, you may have to press a button known as PFL. When you can speak into the microphone, you should be able to see the VU meters lighting up.

Start with the trim knob set completely to the left. Speak into the microphone (“Mic test, 1, 2, 3”) and then slowly turn the knob clockwise. You should be able to see the VU meter levels rising. Turn the knob until the level comes to the 0 mark on the VU meter.

Sending the Sound from the Mixer to the Loudspeakers

Sending the Sound from the Mixer to the Loudspeakers

To send the sound the loudspeakers, the mixer has two set of faders that act as volume controls. The first is the master fader. This can normally be found on the right side of the mixer and controls the overall signal level that goes out of the mixer to the amplifier and loudspeakers.

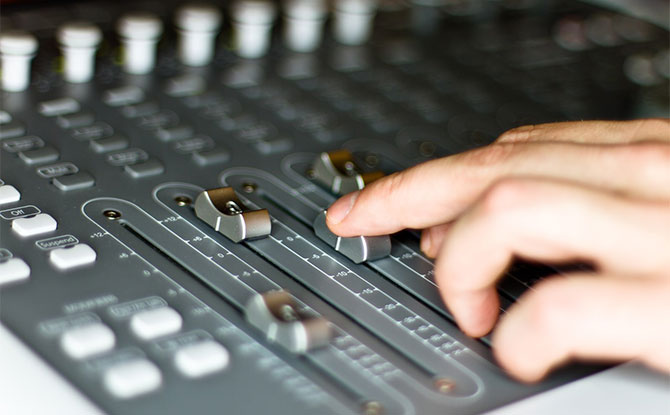
The second is the channel fader. This can be found at the bottom of the channel strip. This controls the volume of each individual channel being sent out of the mixer. Each channel has its own fader to allow you to adjust how loud individual inputs are in relation to each other.

First, raise the master fader to the 0 level.

Next, raise the channel fader to the desired volume.

If you find that the channel fader can only be raised a little bit before the sound through the loudspeaker is too loud, lower the master fader and raise the channel fader.

If you find that you have to raise the channel fader so high that it is near the top of the fader run, you may then need to raise the master fader.

Ideally, the channel fader should be around the 0 mark. This will allow for sufficient room to raise the volume, if necessary.

What Does A Studio Audio Engineer Do: 5 Things To Know

0

What exactly does an audio engineer working in a studio do? What are his or her responsibilities and what actually goes on behind the scenes (or behind the consoles) to make the magic happen?

If musicians don’t collaborate with the best audio engineers, their music wouldn’t sound the way they would want it to. So, an audio engineer is an essential part of the audio or sound production process, whether in a live setting or behind the doors of a studio.

Let’s go over the duties of an audio engineer and what it takes to become a valued one.

What is an audio engineer?

Audio engineers specialise in live audio recording, mixing, post-production, and mastering. An audio engineer has the skills necessary to manage sound for live events such as concerts or to manage sound for events such as streamings or create and complete recordings.

The majority of audio engineers are self-taught with the help of a mentor, although some also have some college education or vocational training in a specialist recording facility.

What does an audio engineer do?

Audio Engineer
Image by Ethan from Pixabay

Audio engineers are involved live sound recordings, including symphonic concerts, band performances, sound for film and television, field recordings, live audio production, and more, audio engineers can be hired.

Generally speaking, audio engineers are in charge of producing high-quality sound recordings that satisfy the requirements of the contractor, who could be a media producer or an artist.

A few fundamental responsibilities are involved in audio engineering; below are some of the particular duties that they will perform day-to-day.

1.   Maintaining and managing a professional recording studio

You need a professional studio and studio management to record sound professionally.

Audio engineers have to supervise the planning and construction of their studio, ensure that it is outfitted with all essential tools, and acoustically treat each of the rooms. Naturally, creating a professional studio takes a substantial expenditure. Therefore an audio engineer building a studio will need to carefully budget for different costs.

Typically, this entails collaborating with a group of engineers to build a studio-centred business. The head audio engineer is responsible for maintaining the studio after it is set for recording while also bringing in bookings and contracts.

Even while maintaining a professional studio’s financial side isn’t the most exciting aspect of audio engineering, it’s undeniably one of the most crucial. If your studio is not professionally constructed and managed, or if you are not actively booking contracts and recording live performances, you won’t survive for very long.

2.   Producing quality recordings

The act of actually recording live sound is the most obvious aspect of an audio engineer’s profession.

Audio engineers need to be knowledgeable about signal routing, miking techniques, and the optimal recording setup for different live bands. To collaborate with producers and artists and make the performances possible, they also need some interpersonal skills.

3.   Mixing recordings

Once an audio engineer has produced high-quality audio, it is time to start sculpting and moulding the recordings in the mix room into something almost finished.

This necessitates familiarity with a wide range of mixing techniques, such as EQ, compression, filtering, gain staging, effects, layering, pitch correction, and many others. A track’s or album’s initial mix is frequently drafted by mixing engineers, who subsequently make changes based on the artist’s feedback and demands.

4.   Mastering the final mix

There is one more phase in the audio engineering process once the final mix of a track or album is finished, and that is mastering.

Each piece of music goes through a technical procedure to make it sound as good as it can on any speaker and to compete in terms of volume on streaming services and radio.

In essence, mastering is the last phase since it takes a mixed track or album and optimises it for commercial distribution. Professional mastering engineers with skills in professional audio mastering frequently carry out this unique method.

5.   Help musicians

How to become an audio engineer
Image by Niek Verlaan from Pixabay

An audio engineer is someone who deals with the technical aspects of sound during the recording, mixing, and reproduction processes. To give their work the sound they are going for, musicians, record producers, and audio engineers frequently collaborate.

For instance, an audio engineer might combine different musical segments, apply auto-tune to a recording, and/or add artificial sounds to a track. Producers and audio engineers work in diverse fields. Some audio engineers, however, continue their careers as producers or take on the position of producer.

How to become an audio engineer

To become a qualified audio engineer, no particular educational path is necessary. Many audio engineers begin their careers as junior engineers in larger professional studios; alternatively, they hustle to establish their reputation and business by gradually expanding their network and portfolio.

Gaining experience in the studio, working on numerous projects, and eventually finding a method to own, maintain, and manage your studio are the keys to being a professional audio engineer.

Conclusion

You shouldn’t expect yourself to be an expert at every aspect of professionally recording, producing, and finishing a track because creating music is difficult.

Hiring a professional audio engineer will show that you value your art and that you are treating it with the respect it merits. There is no shame in hiring someone to help you finish your recordings.

Learning how to record music and get a nice sound takes time because music-making is a process. Never stop learning, and never be hesitant to ask for assistance when you need it.

What is Audio?

0

What is Audio?

When we hear something, we are noticing the vibrations in the air. These vibrations or sound waves make bigger movements within our internal ear, essentially amplifying the incoming vibrations before they are picked up by the auditory nerve.

The residential properties of an acoustic wave change when it travels through different media: gas (e.g. air), liquid (e.g. water) or strong (e.g. bone). When a wave goes through a denser tool, it goes faster than it does with a less-dense medium. This means that sound travels quicker via water than with air, as well as faster through bone than with water.

Sound energy creates the particles to move back and forth parallel that the noise is taking a trip. This is referred to as a longitudinal wave. (Transverse waves occur when the molecules shake backwards and forwards, vertical to the direction that the wave takes a trip).

Speaking (in addition to hearing) entails vibrations. To speak, we relocate air past our singing cables, that makes them vibrate. We alter the sounds we make by stretching those singing cables. When the singing cords are stretched we make high sounds and also when they are loose we make reduced noises. This is called the pitch of the sound.

The sounds we hear everyday are actually collections of less complex sounds.

A musical noise is called a tone. If we strike an adjusting fork, it gives off a pure tone, which is the audio of a solitary regularity. However if we were to sing or play a note on a trumpet or violin, the result is a combination of one primary frequency with various other tones. This offers each musical tool its characteristic noise.

As a result, there is a series of molecular collisions as the sound wave passes through the air, however the air particles themselves don’t take a trip with the wave. The fastest vibration we can hear is 20,000 vibrations per second, which would be a very high-pitched sound. Sound power causes the molecules to move back and also forth in the very same instructions that the audio is taking a trip. When the vocal cables are extended we make high sounds and when they are loose we make reduced audios. The audios we hear every day are actually collections of easier sounds.

What is Sound?

0

Sound is a kind of power made by vibrations. When an item vibrates, it triggers motion in surrounding air molecules. These particles bump right into the particles close to them, creating them to vibrate. This makes them run into even more close-by air molecules. This “chain reaction” activity, called sound waves, keeps going till the molecules lack energy. Therefore, there is a collection of molecular collisions as the acoustic wave goes through the air, but the air molecules themselves do not travel with the wave.

As it is disrupted, each particle just moves far from a resting factor yet after that eventually goes back to it.

What is Sound? Pitch and Frequency

If your ear is within range of such vibrations, you listen to the sound. The resonances need to be at a particular rate in order for us to hear them. We would not be able to hear the sluggish resonances that are made by waving our hands in the air.

The slowest resonance human ears can listen to is 20 cycles per second. That would be a very low-pitched noise. The fastest vibration we can listen to is 20,000 cycles per second, which would be a very shrill audio. Pet cats can listen to also greater pitches than pet dogs, and cetaceans can hear the fastest resonances of all (up to 150,000 times per 2nd!).

The number of vibrations per secondly is referred to as a things’s frequency, gauged in Hertz (Hz). Frequency is, in lay person’s terms, pitch. Audio waves themselves do not have pitch; their vibrations can be measured to obtain a frequency, yet it takes a human brain to map them to that interior quality of pitch. Nearly all objects, when hit, struck, plucked, played or somehow disrupted, will certainly vibrate. When these items vibrate, they often tend to shake at a particular regularity or collection of regularities.

This is referred to as the all-natural regularity of the object. For instance, if you ‘ping’ a glass with your finger, the glass will certainly create a noise at a pitch that is its all-natural frequency. It will make this very same audio every single time.

This sound can be changed, however, by modifying the vibrating mass of the glass. Including water creates the glass to obtain heavier (rise in mass) and also therefore more challenging to relocate, so it often tends to shake extra gradually and also at a reduced pitch.

What is Audio?

When we listen to something, we are sensing the vibrations in the air. These bones make larger vibrations within the internal ear, basically magnifying the incoming resonances before they are selected up by the auditory nerve. The homes of an acoustic wave change when it takes a trip via different media: gas (e.g. air), liquid (e.g. water) or solid (e.g. bone).

When a wave passes through a denser tool, it goes faster than it does through a less-dense medium. This suggests that audio journeys faster via water than via air, and faster via bone than with water. When molecules in a medium shake, they can return and also forth or up and down. Audio energy triggers the particles to move back and forth parallel that the audio is taking a trip. This is referred to as a longitudinal wave. (Transverse waves happen when the particles vibrate backwards and forwards, vertical to the direction that the wave travels). Speaking (in addition to hearing) entails resonances.

To speak, we move air past our vocal cords, that makes them vibrate. We alter the sounds we make by extending those vocal cords. When the vocal cords are extended we make high audios as well as when they are loose we make reduced noises. This is known as the pitch of the audio. The sounds we hear everyday are really collections of easier audios. A music audio is called a tone.

If we strike an adjusting fork, it produces a pure tone, which is the audio of a single regularity. Yet if we were to sing or play a note on a trumpet or violin, the result is a combination of one main frequency with various other tones. This gives each musical tool its particular noise. As a result, there is a collection of molecular accidents as the sound wave passes with the air, yet the air particles themselves do not take a trip with the wave.

The fastest vibration we can listen to is 20,000 resonances per second, which would be a really shrill noise. Audio energy creates the molecules to relocate back and forth in the exact same instructions that the audio is travelling. When the singing cables are stretched we make high sounds and also when they are loose we make lower sounds. The sounds we hear every day are really collections of easier audios.